Libvirt Terraform Kubernetes Lab
I found out that it is relatively easy to setup a local Kubernetes cluster in Linux using terraform and the libvirt provider.
Introduction
I’ve been a long time user of VirtualBox and before that, VMware Workstation. Using VirtualBox with vagrant is like the docker for VMs and provides a dead simple way to get a quick system up and running. In fact, for a long time I used vagrant to run an ubuntu instance via WSL on Windows all day long. Of course realizing how weirdly futile that effort was I finally just shifted over to using Linux as my daily driver.
Over time, I’ve come to distrust VirtualBox’s longevity in the community and have been slowly phasing it out of my preferred solutions. Aside from the fact that it seems that there is a bug or issue with every version I use, VirtualBox is also backed by Oracle which has not always been a great open source champion. As such, I’ve been slowly shifting to using KVM or QEMU which are fully community owned and driven.
When you start to look into the path less traveled for localized virtualization one thing that makes life easier is a common management interface. This is where libvirt comes in to save the day. Using libvirt you can manage storage pools, virtual instances, networks and more using a common interface. And now I’ve recently discovered a very nice community terraform provider for libvirt. This got me looking at using, of all things, QEMU to create and deploy a local Kubernetes lab. It seems crazy but the ability to use terraform to spin up a multiple VM deployment locally is pretty handy.
The Lab
This lab consists of 3 virtual machines with the following names and specifications:
| Node | vCPUS | RAM | Disk | IP |
|---|---|---|---|---|
| k8s-master-1 | 2 | 4GB | 40GB | 172.16.1.11/24 |
| k8s-worker-1 | 2 | 2GB | 40GB | 172.16.1.21/24 |
| k8s-worker-2 | 2 | 2GB | 40GB | 172.16.1.22/24 |
Adding more instances is possible from the local variables at the top of the manifest. You can also change your version of base components that will be pre-configured for you (the cluster deployment via kubeadm is still up to you to perform, good practice after all)
locals {
  kube_version = "1.17.5"
  masternodes = 1
  workernodes = 2
}
How it Works
Firstly, we need to pre-create a set of ssh keys, grab an appropriate version of terraform, the libvirt terraform provider, and pull down some additional things like xpanes (for multiplexing your commands to all nodes at once). These tasks are all done automatically with the following:
make deps
Then the terraform manifest is pretty simple. It fetches a cloud provider ubuntu image, then uses it to spin up 3 virtual machines that get configured via cloud init (that gets modified per-VM). One item that is worth noting is that I specify a special storage pool in the local directory. This allows us to run the lab in a self-contained manner so that the large volumes are not all running from your root volume or somewhere which may cause you issues.
Usage
Here are a few simple commands you can use to start using this lab environment. This brings up three nodes, 1 being a master, 2 being workers.
# If all the dependencies are in place then initialize, plan, and apply the terraform manifest to bring things up.
make init plan create

# Destroy just as easily.
make destroy

# Access the master node
make ssh-master

# or the worker nodes
make ssh-worker1
make ssh-worker2

# or all the nodes at once with synchronized input
make ssh-all

# or all the nodes at once without synchronized input
make ssh-all-desync
exit
exit
NOTE: This is only 3 nodes, not 6 as Kubernetes the Hard Way would have you construct.

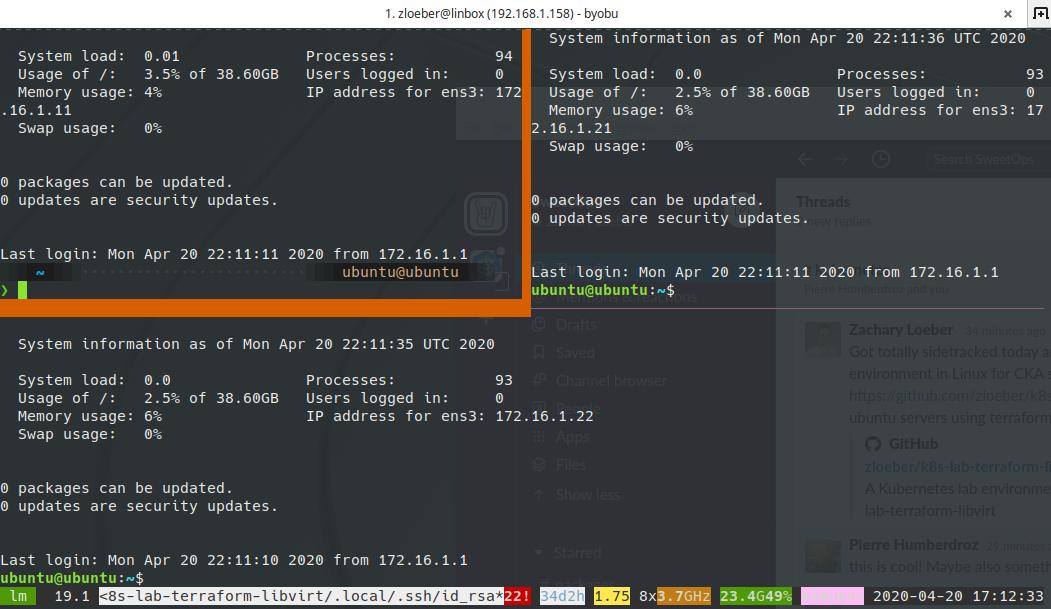
Three Ubuntu nodes ready for your wizardry
Get a Cluster Running (kubeadm)
The three nodes are already running the required components and container runtime for installing Kubernetes. Here is how you would use kubeadm to get a cluster spun up.
NOTE: If you were going to work through Kubernetes the hard way skip this section and go on to the next one which will get you started for that endeavor instead.
make ssh-master

# Deploy initial master
sudo kubeadm init --pod-network-cidr=10.244.0.0/16

# Configure kubectl access
mkdir -p $HOME/.kube
sudo cp -i /etc/kubernetes/admin.conf $HOME/.kube/config
sudo chown $(id -u):$(id -g) $HOME/.kube/config

# Deploy Flannel as a network plugin
kubectl apply -f https://raw.githubusercontent.com/coreos/flannel/2140ac876ef134e0ed5af15c65e414cf26827915/Documentation/kube-flannel.yml
Copy the output from the first step and deploy to the other nodes. The output copied would look something like this:
make ssh-worker1
sudo kubeadm join 172.16.1.11:6443 --token xqckqj.2j6umqdoe416ra9p --discovery-token-ca-cert-hash sha256:6701e97f40377b98e0ae2d35add6ada9050158ab876f9669b22ff09dedae8897
exit

make ssh-worker2
sudo kubeadm join 172.16.1.11:6443 --token xqckqj.2j6umqdoe416ra9p --discovery-token-ca-cert-hash sha256:6701e97f40377b98e0ae2d35add6ada9050158ab876f9669b22ff09dedae8897
exit
Validate on the master node that all nodes are up and running.
make ssh-master
kubectl get nodes
exit
Then deploy metallb as a loadbalancer if you like (probably not absolutely required though it can be helpful).
make kube/deploy/metallb
NOTE: The prior task will pull down the kube config file from the master node into the ./.local/kubeconfig/config file. You can use this to run any kubectl commands from your libvirt hosts with the following:
export KUBECONFIG=$(pwd)/.local/kubeconfig/config
From here you should be ready to do any other excercises required to study for the exam!
Prepping for Kube The Hard Way
I’ve rejiggered my dotfile automation scripts to include a minimal deployment that will allow you to quickly grab several required tools for Kelsey Hightower’s “Kubernetes the Hard Way” Guide.
You should have the lab environment up and running already. Here we will get all the most recent versions of the client tools to build out the PKI for your cluster.
# Login to all nodes
make ssh-all

# Clone my dotfiles repo then deploy a minimal install (press enter when prompted)
git clone https://github.com/zloeber/dotfiles.git
cd dotfiles
./bootstrap-minimal.sh
exit

make ssh-all

# The shell should now have a 'githubapp' command you can use to grab a ton of single binary installers and drop them right in your ~/.local/bin path. Sweet! We use this to install the base requirements for setting up the ssl certs and the kubectl required for the current CKA exam cluster version.

githubapp install cfssl
githubapp install cfssljson
exit
This is just an example of where you might get started. If you are doing per-node work you can also start xpanes in desync mode.
make ssh-all-desync
Change to the individual nodes using ctrl+a then press o. A list of tmux bindings and tips can be found here
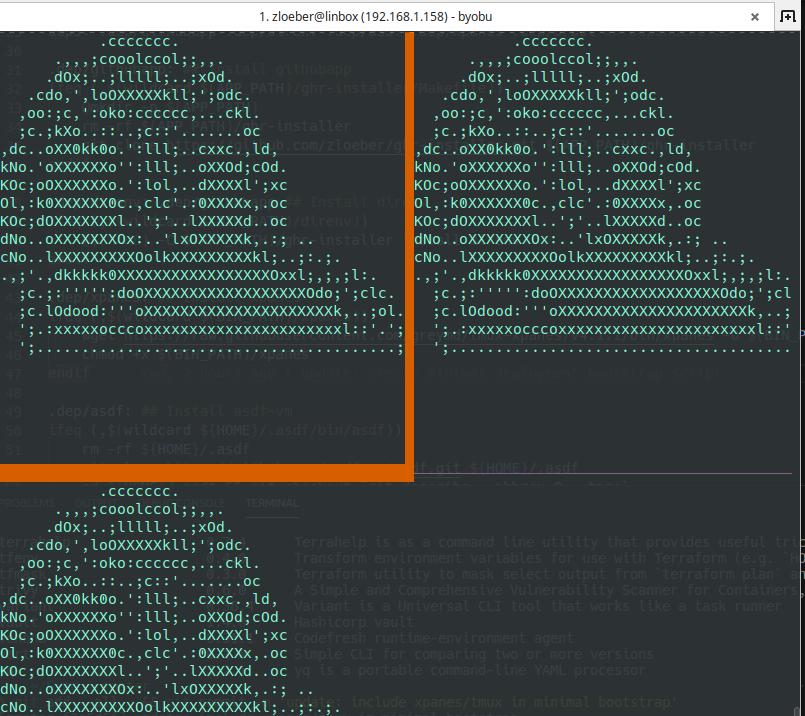
If you followed up to this point and things are working well then good for you! Here is a parrot bobbing its head in approval on all your nodes.
make ssh-all
githubapp auto jmhobbs/terminal-parrot
terminal-parrot

Parrot approved
Press etc to exit the party.
Nuances
This is not the cloud we are dealing with here so we simply keep the state local. You also should really not just reboot your machine with things running, the provider gets confused as the network likes to not come back as active afterwards and a bunch of state elements get left in limbo. You can clean most of this up using the included Makefile task then rebuilding the VMS out once again.
make libvirt/clean clean
Conclusion
This is technically just a fast spin up of 3 virtual machines to begin your studies against. But the whole thing deploys in under a few minutes, uses terraform, and can be run on your local machine if you have the specs for it. It should make for a good stand-in alternative for a physical cluster running at home on some raspberry pis.
The entire project for this lab along with some additional exercizes and directions is able to found in this github repo.
It should be noted that this is entirely inspired by the terraform I found in this excellent CKA study guide. There are several exercises and relevant links you can find here that will help in your studies.
